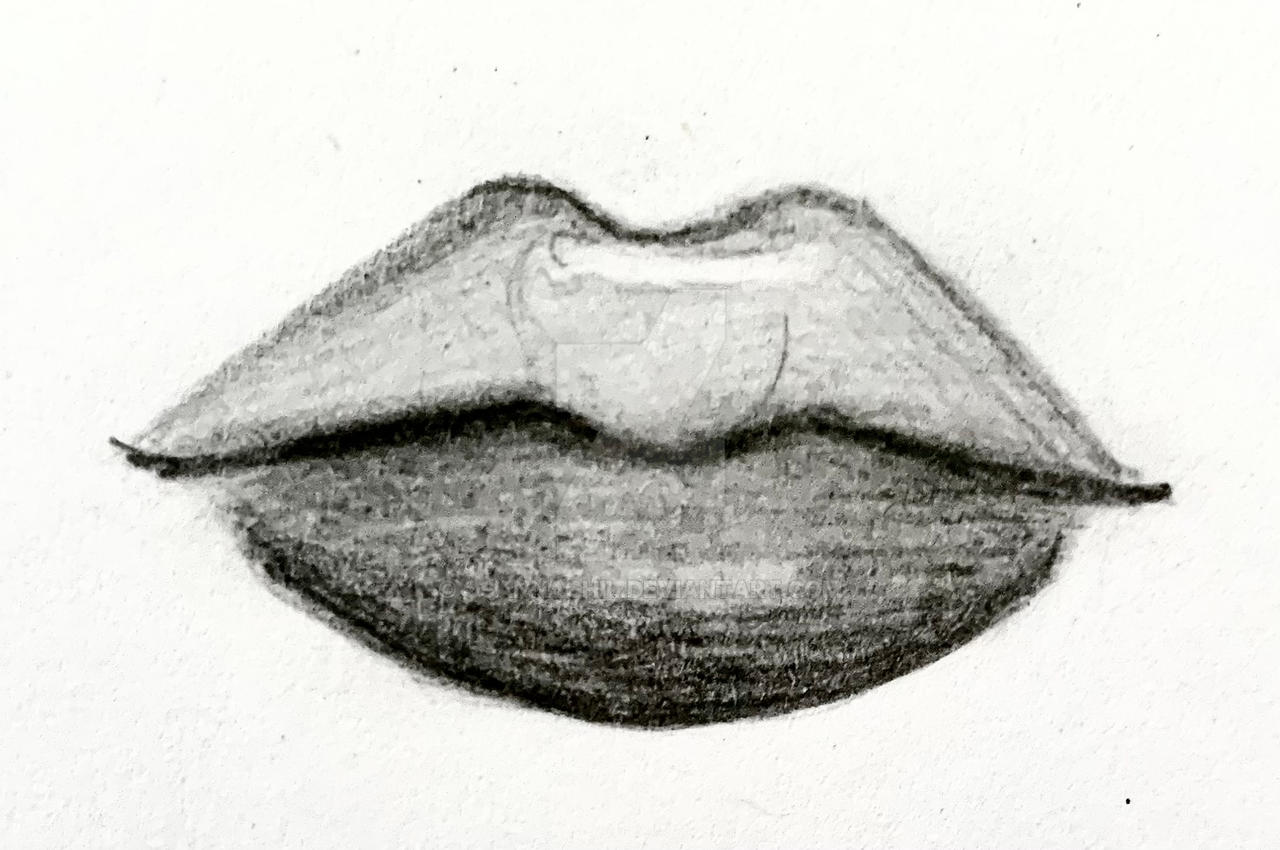
Credit: OsannaChil on DeviantArt
Have you ever found yourself lost in the intricate lines of a pencil drawing, marveling at the sheer amount of detail captured with nothing but graphite? There’s something undeniably captivating about detailed pencil art, where every stroke tells a story and every shade brings a scene to life. Achieving such stunning detail in your pencil drawings is no mere feat; it’s an art form that combines patience, precision, and technique to transform a blank page into a masterpiece.
In this blog post, we’ll dive deep into the world of pencil precision, uncovering the secrets to adding those intricate details that make your art stand out. Whether you’re a seasoned artist or a curious beginner, mastering the finesse required for small-scale elements can significantly enhance the quality and polish of your work. From understanding your tools and mastering the art of shading to adding purposeful details and experimenting with advanced techniques, we’ll guide you through each step to help you achieve a level of detail that captivates and inspires.
Join us as we explore the techniques and tips that can elevate your pencil drawings from good to breathtakingly detailed. Prepare to sharpen your pencils—and your skills—as we embark on this journey towards achieving pencil precision like never before.
The Foundation of Precision Drawing
Before you can create mesmerizing, detailed art with your pencil, you need to lay a solid foundation. This foundation begins with two critical aspects: understanding your tools and mastering basic techniques for precision. Let’s delve into these fundamental elements that pave the way for intricate pencil work.
Understanding Your Tools
Overview of Different Pencils
In the realm of pencil drawing, not all pencils are created equal. The pencils you choose play a pivotal role in the detailing process. Pencils are graded based on their hardness or softness, which affects the darkness of the marks they make. The ‘H’ series pencils are harder, offering lighter marks and more control for fine lines, making them perfect for initial sketches and delicate details. On the other end, ‘B’ series pencils are softer, darker, and ideal for adding depth and shadow to your drawings. The ‘HB’ pencil sits comfortably in the middle, offering a versatile option for general sketching and detailing. Understanding the nuances of these grades will help you select the right pencil for each aspect of your drawing.
Importance of Quality Paper
The paper you draw on is just as important as the pencils you use. High-quality paper not only enhances the durability and appearance of your art but also allows for finer details without smudging or tearing. Smooth papers are excellent for detailed work, as they allow for sharp, clean lines and subtle shading. Investing in good paper means investing in the overall quality of your artwork.
Basic Techniques for Precision
Holding Techniques for Better Control
How you hold your pencil affects your ability to add details. For precision work, try holding your pencil closer to the tip, as this gives you more control over the fine movements required for detailing. Experiment with different grips to find what feels most natural and offers the best control for your style of drawing.
Introduction to Light Sketching for Layout Before Detailing
Before diving into the details, start with a light sketch to layout your drawing. This approach allows you to plan the composition and major elements without committing to dark, hard-to-erase lines. Use an ‘H’ series pencil for this step, as it provides the delicacy needed for easy adjustments later on. This initial sketch serves as a roadmap, guiding you as you begin to build up the details and textures that will bring your drawing to life.
Mastering the foundation of precision drawing sets you on the path to creating detailed, captivating artwork. By understanding your tools and practicing basic techniques, you’re preparing yourself to tackle the more intricate aspects of pencil drawing with confidence and skill.
Credit: OsannaChil on DeviantArt
Mastering the Art of Shading
Shading is a powerful technique in pencil drawing that adds depth, dimension, and life to your artwork. By mastering shading, you can transform flat sketches into realistic, three-dimensional masterpieces. Let’s explore how to achieve this through various shading techniques and tips for smooth transitions.
Shading Techniques for Depth and Dimension
Creating Gradients for Realism: Gradients are essential for creating a realistic look, as they mimic how light naturally fades into shadows. Start with a light touch using a softer pencil, like a 2B or 4B, and gradually increase the pressure or switch to a softer pencil as you move towards the darker areas. The key is to build the gradient slowly, layer by layer, to achieve a smooth transition from light to dark.
Begin with the Lightest Area: Start shading where the lightest part of your subject will be. Use minimal pressure.
Gradually Build Darkness: Slowly increase the pressure or switch to softer pencils as you move to darker areas.
Blend for Smoothness: Use a blending tool, like a blending stump or a piece of tissue, to smooth out the gradient, eliminating harsh lines between light and dark areas.
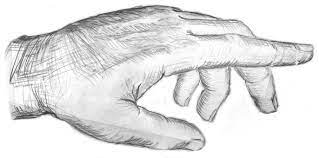
Adding Texture with Cross-Hatching and Stippling: Texture brings your drawing to life. Cross-hatching involves drawing intersecting sets of parallel lines to create shading and texture. The closer the lines, the darker the area appears. Stippling uses dots to build up shading and texture, with more dots creating darker areas. These techniques are excellent for adding realism and depth to your work.
Cross-Hatching: Start with one layer of parallel lines, then add another layer going in a different direction. Adjust the closeness of the lines to vary the darkness.
Stippling: Begin with areas of highest density or darkness and work outwards, decreasing dot density to create lighter areas. The patience required for stippling pays off in the unique texture it provides.
Tips for Smooth Transitions
Blending Tools and Techniques: Blending is crucial for creating smooth transitions between different shades. Blending stumps, tissue, or even your finger can be used to soften and merge pencil strokes, creating a seamless gradient.
Use a Light Touch: Start with gentle pressure to avoid over-blending, which can muddy your drawing.
Clean Your Blending Tool Regularly: To prevent accidentally transferring darker graphite to lighter areas, keep your blending tool clean.
Tricks to Avoid Common Shading Pitfalls:
Maintain Pencil Sharpness: A sharp pencil provides more control, allowing for finer, cleaner shading.
Work from Light to Dark: This approach gives you more control over the intensity and depth of your shading, making it easier to build up layers without overcommitting too early.
Keep Your Hand Steady: Rest your hand on a piece of scrap paper to avoid smudging your work as you shade.
By incorporating these shading techniques and tips into your pencil drawing practice, you’ll be well on your way to creating art that leaps off the page. Shading not only enhances the realism of your drawings but also imbues them with emotion and atmosphere, elevating your artwork to new heights.
Detailing with a Purpose
In the realm of pencil drawing, the devil truly is in the details. It’s the fine lines, the subtle textures, and the minute shadows that breathe life into your artwork, transforming it from a mere sketch to a piece that captivates and intrigues. Let’s explore how to add these crucial elements to your art with intention and precision.
Adding Details to Bring Your Art to Life
Strategies for Planning and Executing Intricate Details:
Start with a Vision: Before your pencil touches the paper, have a clear idea of the final result. Consider which elements of your drawing will benefit most from detailed work, such as the texture of hair or the intricacy of fabric patterns.
Layer Your Approach: Begin with broader strokes to establish general shapes and forms. As your drawing progresses, gradually introduce finer details. This layered approach allows for adjustments along the way and prevents overcrowding your piece with details too early.
Focus on Focal Points: Determine where you want the viewer’s eye to be drawn. These focal points should receive the highest level of detail, guiding the viewer through the artwork and creating a narrative within the piece.
Choosing Focal Points for Detail Emphasis:
Contrast is Key: Use contrast in texture, tone, and detail to make your focal points stand out. A highly detailed area next to a more subdued one will naturally attract the eye.
Strategic Placement: Place your focal points in areas that enhance the composition’s balance and flow. The rule of thirds can be a helpful guide in deciding where these areas should be.
Maintaining Balance and Harmony
Techniques to Ensure Detailed Areas Complement Rather Than Overwhelm:
Mind the Overall Composition: Ensure that the addition of details serves the bigger picture, enhancing rather than detracting from the overall composition. Avoid detailing everything to the same degree, as this can lead to a cluttered and confusing piece.
Use Details Sparingly: Think of details as the spice of your drawing—they should add flavor without overwhelming the dish. Selectively placing details can make your focal points stand out and the rest of the drawing support them without competing for attention.
Case Study: Analyzing a Detailed Drawing to Illustrate Balance:
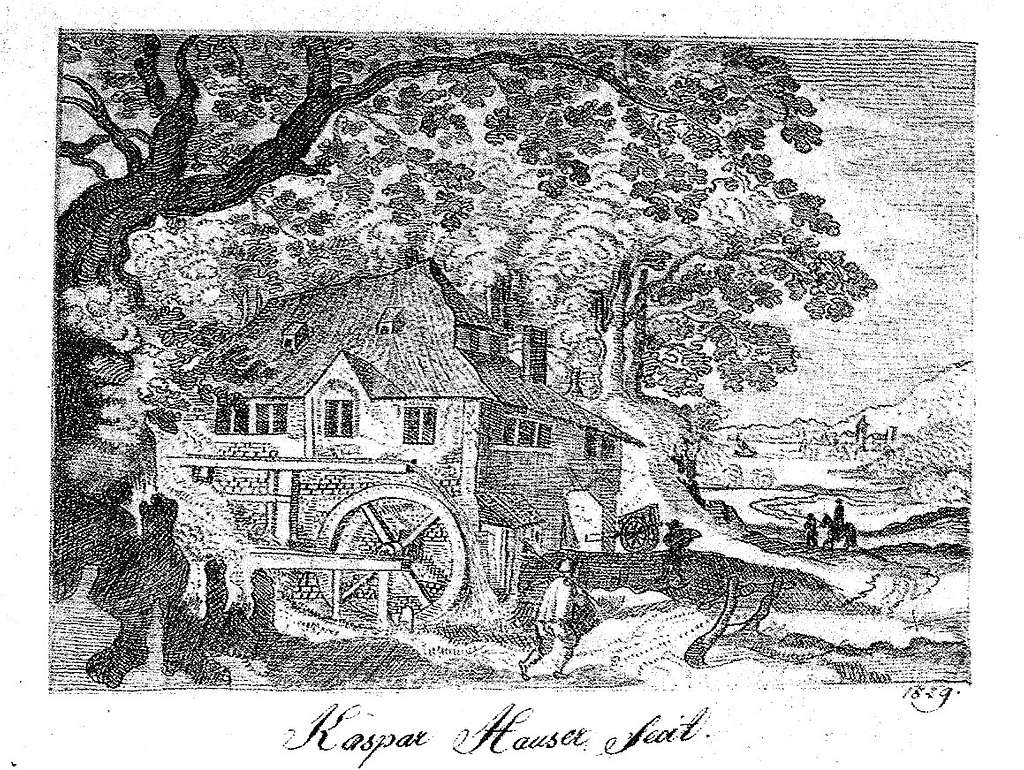
Imagine a detailed drawing of a forest scene. The focal point is a large, ancient tree in the foreground, its bark rich in texture and the leaves finely rendered. Around it, the forest fades into softer focus, with less detail and more implied shapes. This technique draws the viewer’s eye to the tree, while the less detailed surroundings provide a serene and uncluttered backdrop, maintaining balance and harmony within the piece.
By detailing with a purpose, you not only add depth and interest to your artwork but also guide the viewer’s experience of it. The strategic use of detail can turn a good drawing into an unforgettable one, capturing the viewer’s imagination and holding it within the carefully constructed world of your artwork.
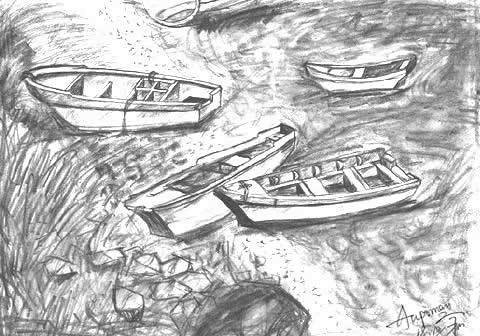
Creator: Aupoman
Advanced Techniques for the Detail-Oriented Artist
Mastering the art of pencil drawing involves not just understanding the basics but also embracing advanced techniques that can elevate your work to new heights. For artists focused on achieving exceptional detail and realism, exploring the realms of negative space drawing, texture creation, and innovative use of erasers can unlock new dimensions in your artwork. Let’s dive into these advanced techniques that can add sophistication and depth to your pencil drawings.
Negative Space Drawing
Leveraging Negative Space to Enhance Details and Depth:
Negative space, the area around and between the subjects of an image, is a powerful tool in the artist’s arsenal. Instead of drawing the object itself, you focus on shaping the space around it. This technique can significantly enhance the perception of detail and depth in your work.
Visualize the Shapes Around Your Subject: Begin by identifying the negative spaces in your composition. Pay attention to these shapes as if they were the main subjects of your drawing.
Use Negative Space to Define Edges: By shading or detailing these areas, you can define the boundaries of your subject without directly drawing it, creating a compelling contrast and clarity in your artwork.
Balance Between Positive and Negative: Mastering negative space drawing allows you to achieve a balanced composition, where both the subject and the space around it contribute to the overall effect.
Creating Texture with Pencil Strokes
Experimenting with Pencil Strokes to Mimic Real-World Textures:
The variety of textures you can create with pencil strokes is virtually limitless, from the roughness of bark to the softness of fur. Achieving realism through texture is all about variation and technique.
Observe and Replicate: Study the textures you wish to replicate in your drawings. Observe the direction, length, and density of the lines that make up these textures in real life.
Vary Your Pencil Pressure: Lighter strokes can create a sense of softness, while heavier, more aggressive strokes can suggest roughness. Experimenting with different levels of pressure can help you mimic a wide range of textures.
Combine Techniques: Use a combination of shading, hatching, and stippling to create complex textures. Layering these techniques can add richness and depth to your work.
Using Erasers Creatively
Techniques for Adding Highlights and Textures with Erasers:
Erasers are not just for correcting mistakes; they can be a creative tool to add highlights and textures, bringing a dynamic quality to your pencil drawings.
Highlighting with Precision: Use a kneaded eraser or an eraser pencil for precise control over the highlights in your drawing. By carefully removing graphite, you can create light within the shadows, adding volume and realism.
Texturing with Erasers: Experiment with different eraser types to create textures. For example, dabbing with a kneaded eraser can mimic the texture of foliage or fabric.
Layering Techniques: Apply graphite, erase for highlights or texture, and then add more pencil detail. This layering approach can produce complex and detailed effects that make your artwork stand out.
By incorporating these advanced techniques into your repertoire, you’re not just drawing; you’re sculpting with graphite, creating works that are rich in detail, depth, and realism. Whether leveraging the often-overlooked power of negative space, mimicking the intricate textures of the natural world, or using erasers in creative new ways, these strategies will help you push the boundaries of what’s possible with pencil drawing.
Creator: Aupoman
Practice Makes Precision: Developing Your Skills
The journey to mastering pencil drawing is paved with practice and perseverance. Developing a keen eye for detail and a steady hand for precision doesn’t happen overnight. It requires dedication, a strategic approach to practice, and learning from those who’ve mastered the craft. Here’s how you can set up effective practice routines and draw inspiration from the masters to enhance your detailing skills.
Setting Up Effective Practice Routines
Tips for Daily Practice Routines:
Consistency is Key: Dedicate a specific time each day to practice. Even if it’s just 15-30 minutes, the regularity of practice is crucial for steady improvement.
Focus on Different Techniques: Allocate different days of the week to focus on specific skills like shading, texturing, or negative space. This variety keeps practice sessions engaging and covers all aspects of detailing.
Set Achievable Goals: Break down your practice into small, manageable goals. Completing these can provide a sense of progress and motivation to continue.
Ideas for Small Projects to Hone Detailing Skills:
Daily Drawing Challenges: Commit to drawing something new each day, focusing on different textures or subjects to diversify your skill set.
Copywork Practice: Choose a section from a detailed work you admire and replicate it. This exercise can help you understand the techniques used and how to apply them to your work.
Texture Journals: Create a journal dedicated to textures, where each page explores a different material or surface through pencil strokes.
Learning from Masters
How Studying the Work of Master Pencil Artists Can Inspire and Teach Precision Techniques:
Analyze Their Work: Spend time studying the drawings of accomplished artists. Note how they use light, shadow, and texture to create realism and depth. Pay special attention to their handling of details and try to understand the choices they make in their compositions.
Replicate Masterpieces: Attempting to replicate a master’s work can be incredibly educational. It forces you to pay attention to nuances you might otherwise overlook and teaches you techniques that you can incorporate into your own style.
Seek Out Resources: Many artists share their process through books, online tutorials, and workshops. Take advantage of these resources to gain insights into their techniques and thought processes.
Practice, coupled with a strategic approach to learning, is the cornerstone of developing precision in pencil drawing. By setting up a routine that challenges and inspires you, and by learning from the masters of the craft, you’ll find your skills growing more refined with each passing day. Remember, every master was once a beginner, and it’s the dedication to their art that bridged that gap.
In the intricate world of pencil drawing, precision stands as the cornerstone of captivating artwork. The meticulous addition of fine details not only breathes life into your creations but also elevates them to a realm of realism and depth that can truly mesmerize the viewer. As we’ve explored, mastering the finesse required for such detailing involves understanding your tools, embracing a variety of shading techniques, purposefully adding details, experimenting with advanced methods, and, above all, practicing consistently.
The journey to precision is both challenging and incredibly rewarding. Each stroke, each shade, and each texture you master brings you one step closer to transforming your visions into stunning pieces of art. I encourage you to experiment with the techniques discussed in this article—embrace the learning curve, as each attempt, successful or not, is a stepping stone to mastery.
And remember, art thrives in community and shared experiences. Don’t hesitate to share your progress, discoveries, and the pieces you’re proud of on social media or in the comments section below. Your journey could inspire someone else to start theirs, and together, we can foster a vibrant community of like-minded artists, all united in our quest for precision and beauty in pencil drawing.
Let’s keep the pencils moving, the erasers handy, and our passion for art burning bright. Here’s to the detailed journeys we’re all undertaking, one pencil stroke at a time.


0 Comments