Unlocking the Basics: First Steps in Pencil Drawing
The Pencil as Your Paintbrush
The Magic in Your Hand
Imagine holding a pencil – a simple, everyday object you’ve used countless times before, but this time, it’s different. This time, that humble pencil is your key to unlocking an entirely new world, a world where lines and shades transform blank pages into expressions of your deepest creativity. Welcome to the art of pencil drawing, a place where beginners like you can embark on a journey of artistic discovery with nothing more than a pencil and a sheet of paper.
Why Pencil Drawing?
Pencil drawing stands out as one of the most accessible and popular forms of art, cherished for its simplicity and the raw, immediate connection it offers between the artist’s hand and their canvas. It’s an art form that teaches patience, precision, and the ability to see the world through a different lens. Whether you’re sketching a quick doodle or crafting a detailed portrait, every mark you make is a reflection of your personal perspective, your emotions, and your unique story.
Embarking on Your Artistic Journey
In this guide, “Unlocking the Basics: First Steps in Pencil Drawing,” we’re going to lay down the groundwork for your artistic journey. From selecting the right materials to mastering basic pencil grips, and venturing into your first drawing exercises, we’ve got you covered. This article isn’t just a set of instructions; it’s a passport to a new form of expression, designed to make you comfortable with the basics and excited about the possibilities that pencil drawing holds.
The Beauty of Beginning
So, why pencil drawing? Because it’s forgiving for beginners, requiring minimal investment in materials while offering a vast spectrum of expression. It’s a skill that can be constantly refined, allowing for endless growth and exploration. And most importantly, it’s deeply personal; the way you wield your pencil can become as distinctive as your handwriting.
Embrace the Journey
As we embark on this journey together, remember that every artist starts somewhere. Mistakes, smudges, and eraser marks aren’t just part of the process; they’re milestones on the path to mastery. By the end of this article, you’ll have taken your first steps into a larger world of art, equipped with the knowledge and skills to continue exploring with confidence.
So, grab your pencil, and let’s dive into the world of pencil drawing, where every line you draw connects you more deeply to the vast canvas of your imagination. Let’s unlock the basics together and discover the joy of bringing your visions to life, one pencil stroke at a time.
Chapter 1: Assembling Your Toolkit
Embarking on your pencil drawing journey starts with assembling the right tools. Just as a carpenter needs a reliable set of tools to build a house, an artist needs the right materials to bring their vision to life. Let’s explore the essential toolkit for a beginner in pencil drawing, ensuring you have everything you need to start on the right foot.
Pencils: The Core of Your Art
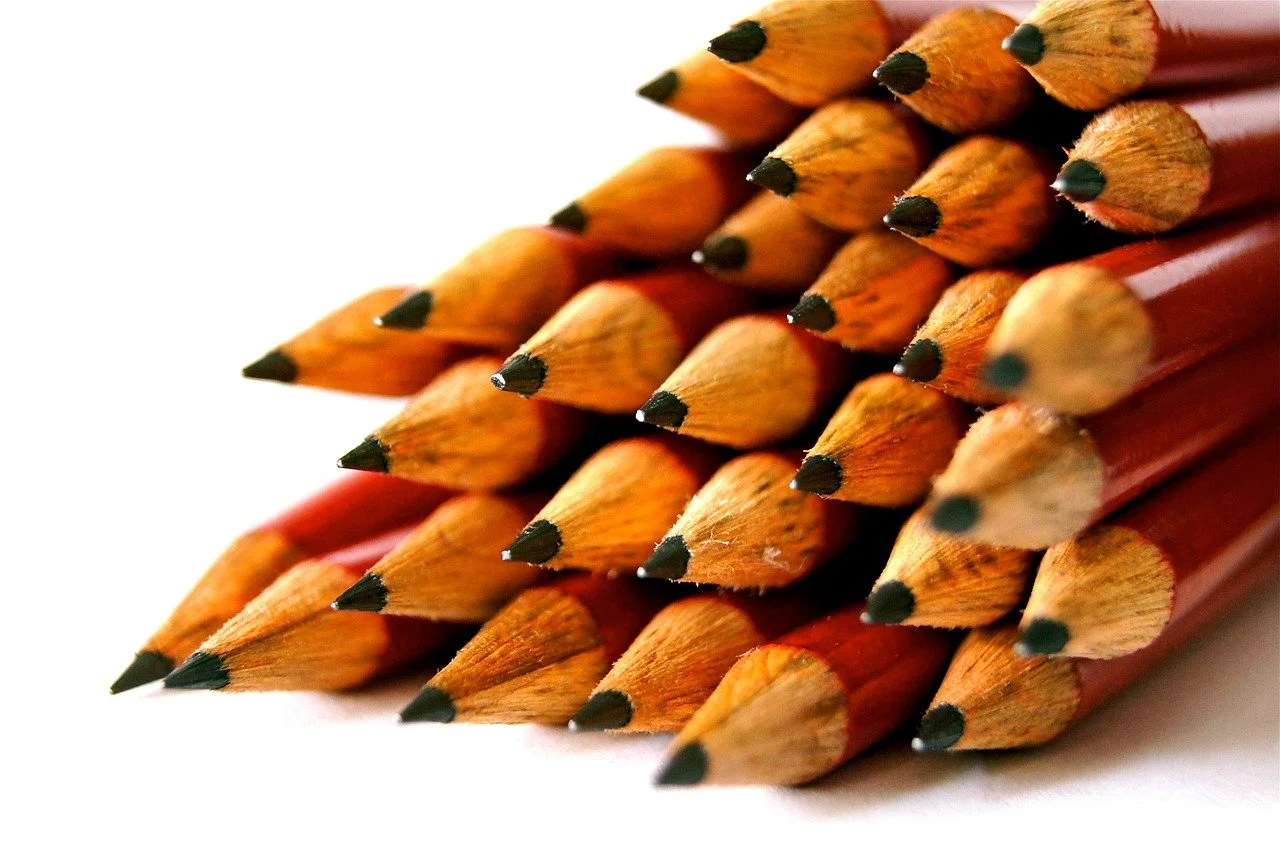
At the heart of pencil drawing are, unsurprisingly, the pencils themselves. Pencils are categorized based on their hardness and darkness, indicated by the H (hard), B (black), and HB scales.
H Pencils: These range from H (hard) to 9H (the hardest), producing lighter lines. They’re perfect for fine lines and detailed work, as they leave a lighter mark and offer great precision.
B Pencils: B pencils range from B (soft) to 9B (the softest), known for their darker, more expressive lines. They’re ideal for shading, texture, and dynamic marks in your drawing.
HB Pencils: Sitting in the middle of the scale, HB pencils offer a balance between hardness and darkness. They are versatile for general sketching and drawing.
Paper: Your Canvas
The choice of paper can significantly affect the outcome of your artwork. Paper varies in texture and weight, and each type offers a different experience.
Smooth (Hot Pressed): Best for detailed work, as it has a very fine texture that captures precise lines and marks.
Medium (Cold Pressed): Offers a slight texture, making it versatile for both detailed work and broader shading.
Rough: Ideal for expressive work that requires texture, as its surface helps to create interesting marks and shades.
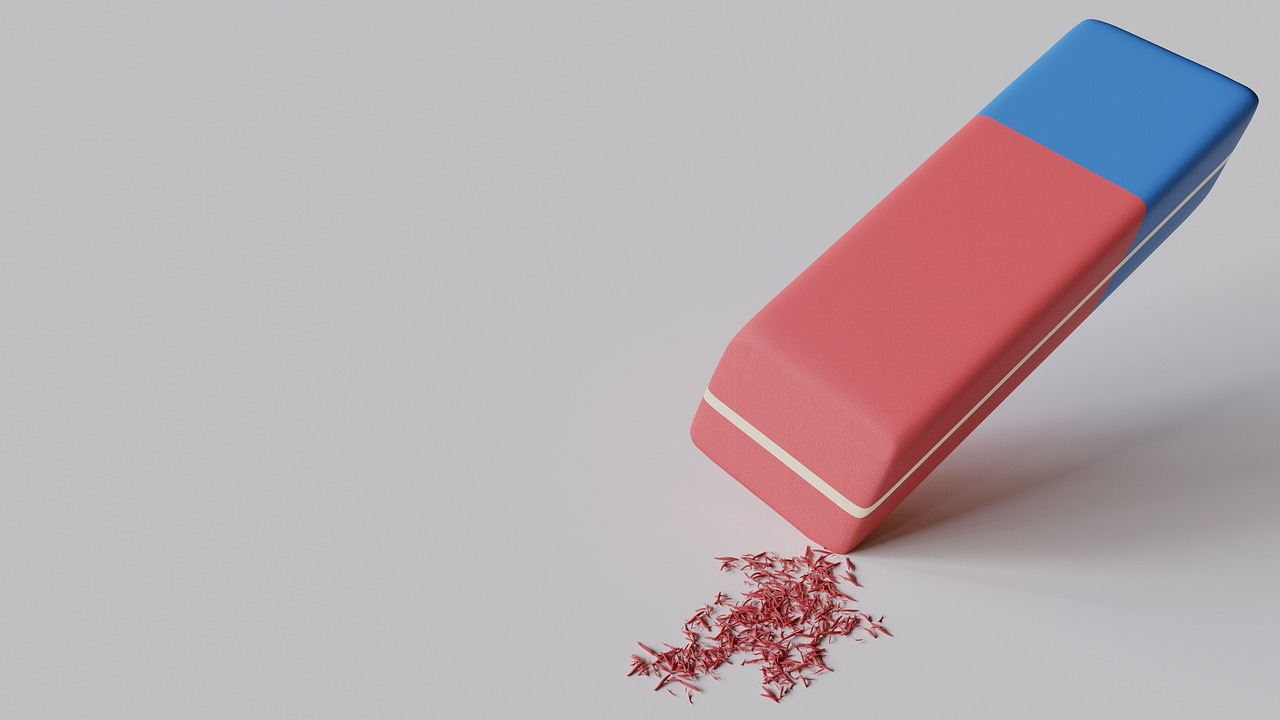
Erasers: The Undo Button
Erasers are more than just a tool to correct mistakes; they can also be used creatively to bring light and life to your drawings.
Rubber Erasers: The most common type, great for erasing large areas of graphite.
Kneaded Erasers: Soft and pliable, they can be shaped to erase small details or to lightly lift graphite for subtle shading effects.
Vinyl Erasers: The strongest erasers, capable of removing even the darkest marks without damaging the paper.
Sharpeners: Precision’s Best Friend
A sharp pencil is crucial for precision in drawing. Whether you prefer a simple handheld sharpener or an electric model, ensuring your pencils are sharp means you can achieve the fine details that bring your drawing to life.
Additional Tools: Enhancing Your Art
Blending Stumps: Rolled paper tools used to smudge and blend graphite, softening lines and creating gradients.
Rulers: Essential for creating straight lines and precise geometric shapes.
Fixatives: Sprays that protect your finished drawings from smudging and dust, preserving your work.
Summary: Your Beginner’s Checklist
To kickstart your pencil drawing adventure, here’s a quick checklist of the essentials:
A variety of H, B, and HB pencils to explore different lines and shades.
Quality drawing paper that suits your preferred texture.
A selection of erasers (rubber, kneaded, and vinyl) for both broad and precise corrections.
A reliable sharpener to keep your pencils in top condition.
Blending stumps and rulers for technique enhancement.
A fixative spray to protect your finished pieces.
With these tools in hand, you’re well-equipped to begin exploring the vast and rewarding world of pencil drawing. Remember, the quality of your tools can influence your drawing experience, so choose wisely and don’t be afraid to experiment to find what works best for you. Happy drawing!
Chapter 2: Understanding Pencil Grips
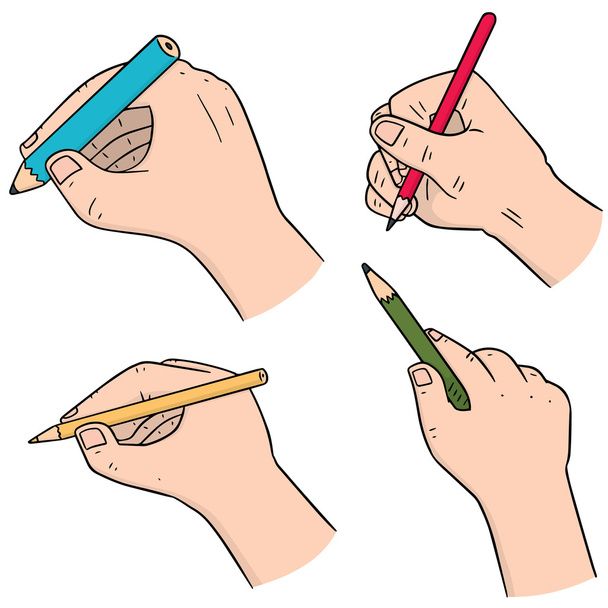
Just as a musician must master the hold of their instrument to produce beautiful melodies, an artist must become adept at how they grip their pencil to unleash the full potential of their creativity. The way you hold your pencil affects everything from the line quality to the overall feel of your drawing. Let’s explore the three primary pencil grips that every artist should know, along with the encouragement to experiment and find what works best for you.
The Tripod Grip: Precision and Control
The Tripod Grip is the most familiar and widely used pencil hold, mirroring the way we were taught to write. This grip involves holding the pencil with the thumb, index, and middle fingers, allowing for a comfortable and controlled drawing experience. It’s particularly beneficial for detailed work and fine lines, offering the precision needed for intricate designs and textures. The familiarity of this grip makes it a comfortable starting point for beginners, providing a stable and precise control over the pencil.
The Overhand Grip: Shading and Broad Strokes
Unlike the Tripod Grip, the Overhand Grip involves holding the pencil with the fingers extended over its top and using the side of the lead to make contact with the paper. This grip is excellent for shading large areas, creating broad strokes, and working on a larger scale. It offers a looser hold, enabling more expressive lines and a greater variety of mark-making. The Overhand Grip is particularly useful when you want to quickly cover a large surface area with graphite or when engaging in more gestural, expressive drawing styles.
The Underhand Grip: Sketching and Fluid Lines
The Underhand Grip, similar to holding a baton, allows the pencil to rest on the side of your middle finger, controlled by your thumb and index finger. This grip facilitates a greater range of motion than the Tripod Grip, ideal for sketching and drawing fluid lines with ease. It’s a fantastic grip for artists looking to achieve a more relaxed and natural flow in their drawings, suitable for capturing the essence of a subject with swift, sweeping motions.
Experimenting with Grips: Finding Your Comfort Zone
While the Tripod, Overhand, and Underhand Grips are foundational, the true artistry comes in discovering and refining a grip that feels most natural to you. Each artist’s hand is unique, and there’s no one-size-fits-all solution. Experimenting with different grips can unlock new drawing techniques and styles, encouraging a personal connection to your work that is genuinely your own. Don’t hesitate to mix and match grips based on the demands of your drawing or how your style evolves.
Summary: Embracing Flexibility in Your Grip
Understanding and practicing these pencil grips are crucial steps in developing your drawing skills. However, the importance lies in being comfortable and flexible, allowing your grip to adapt to the needs of your artwork. Just as each piece you create is unique, so too might be the way you hold your pencil while bringing it to life. Encourage yourself to experiment and be open to changing your grip as you grow as an artist. This adaptability not only enhances your technical skills but also deepens the personal touch that makes your art distinctly yours.
Chapter 3: Basic Drawing Exercises
Mastering the art of pencil drawing begins with the basics. Through practicing foundational exercises, you can develop the hand-eye coordination, precision, and observational skills necessary for more complex artworks. This chapter introduces you to fundamental drawing exercises that build upon each other, from simple lines and shapes to the intricate rendering of textures and objects. Let’s start shaping your drawing skills with these essential exercises.
Lines and Shapes: The Building Blocks
Before diving into complex subjects, it’s crucial to get comfortable drawing the most basic elements: lines and shapes. These exercises will enhance your hand-eye coordination and lay the groundwork for everything that follows.
Straight Lines: Practice drawing straight lines of varying lengths and angles. Focus on keeping them as uniform as possible without the aid of a ruler.
Curves: Experiment with gentle and sharp curves to gain control over hand movements.
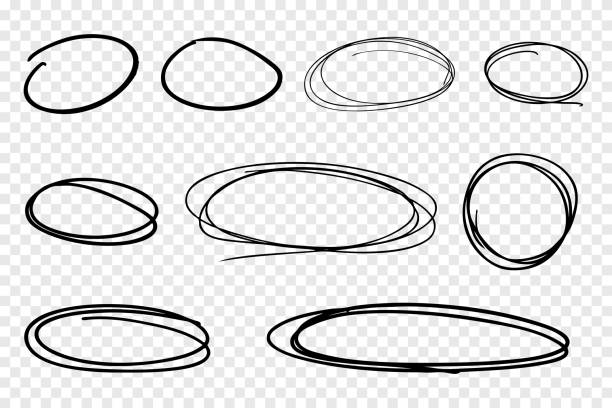
Circles and Ellipses: Start with simple circles, then progress to drawing ellipses at different angles and perspectives. Achieving a smooth, rounded shape is key.
Shading Techniques: Bringing Depth to Your Drawings
Shading is essential for adding depth and dimension to your drawings. Here are four basic shading techniques to practice:
Hatching: Create shading using closely spaced parallel lines. Adjust the pressure on your pencil to vary the darkness.
Cross-Hatching: Build on hatching by adding another layer of lines going in a different direction, creating a denser and darker area of shading.
Stippling: Use dots to create shading. The closer the dots, the darker the area appears. This technique requires patience but offers great control over value.
Blending: Use a blending stump or your finger to smooth out graphite for a seamless gradient effect. This technique is ideal for creating soft shadows and realistic textures.
Simple Objects: From Shapes to Subjects
Once comfortable with lines and shading, it’s time to apply those skills to drawing simple objects. Let’s start with a cup and a box, focusing on proportion and perspective.
Drawing a Cup: Begin with a simple oval for the opening, then sketch the sides and base. Pay attention to the curve and proportion to make it look three-dimensional.
Drawing a Box: Start with a rectangle, then add lines for the sides and top, considering the perspective to give it a solid, three-dimensional form.
Textures: Mimicking the Real World
Textures add life and realism to your drawings. Practice these techniques to simulate different materials:
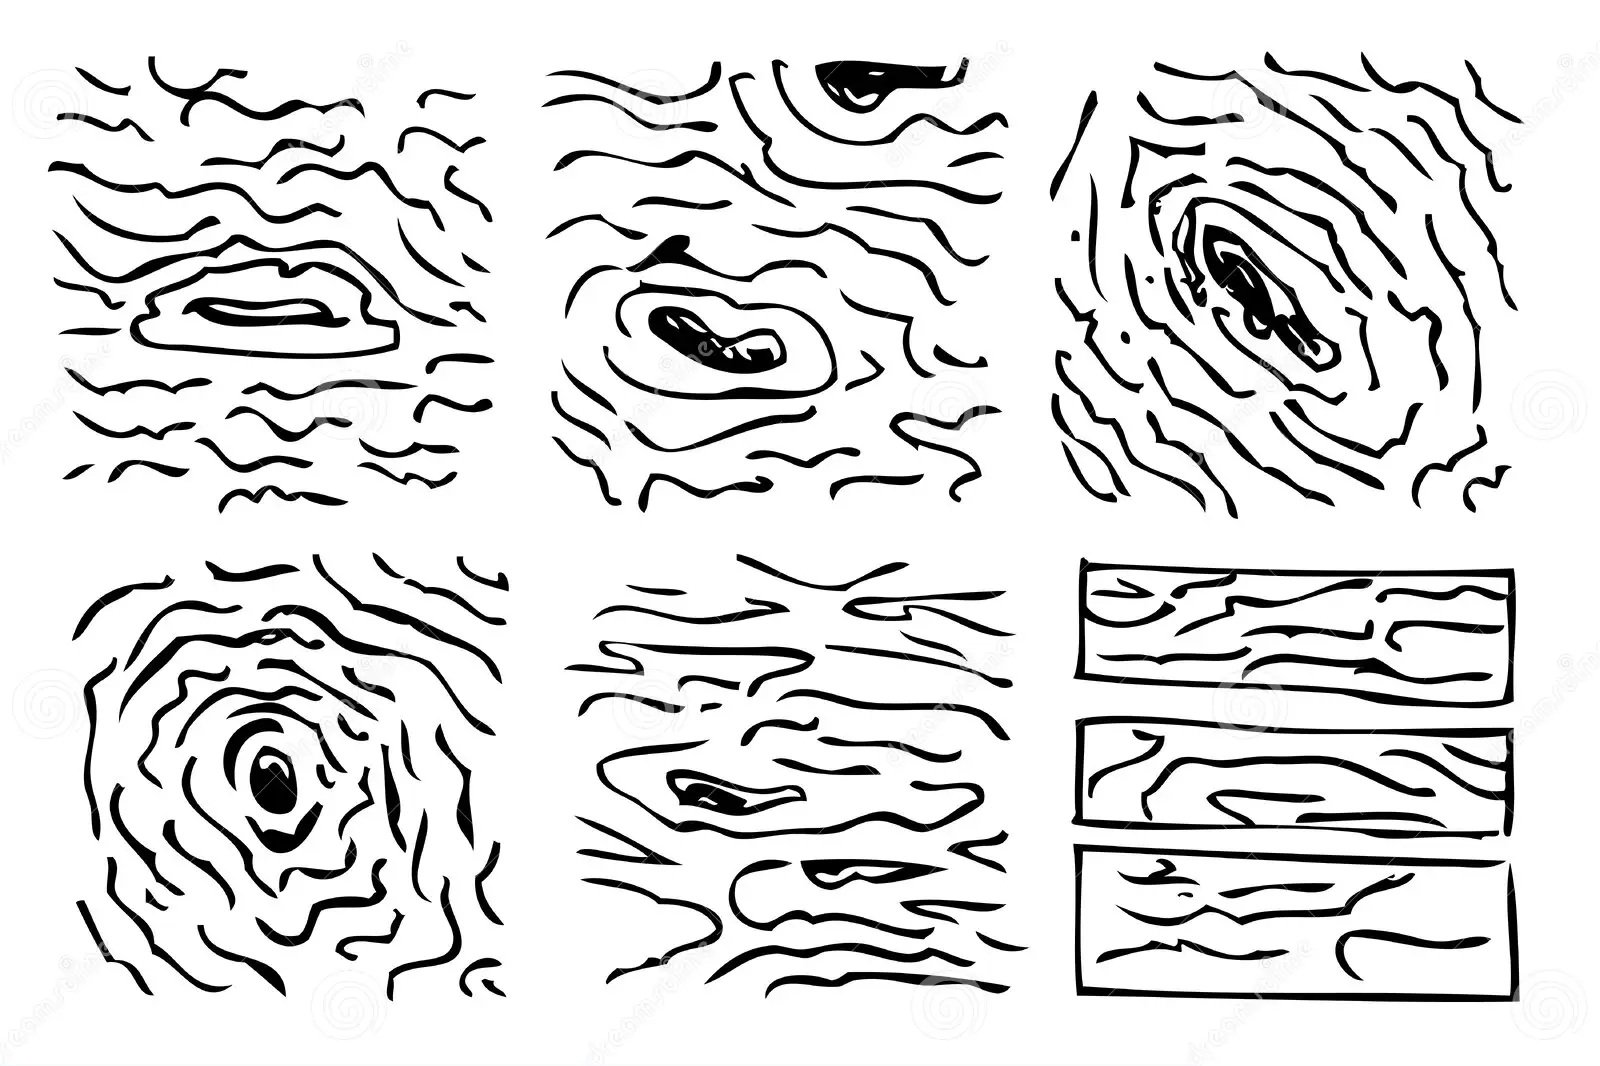
Wood: Use a combination of lines and shading to create the grain. Varied line weights and directions can mimic the natural patterns in wood.
Metal: Practice smooth shading and high contrast to reflect the shiny, reflective nature of metal.
Fabric: Use soft, flowing lines and gentle shading to capture the weight and fold of different fabrics.
Self-assessment Tips: Reflecting on Your Progress
Learning to critique your work is essential for growth. Here are a few tips for self-assessment:
Compare with References: If drawing from a reference, compare your work to identify areas of improvement in proportion, perspective, and shading.
Seek Feedback: Don’t hesitate to share your drawings with others for constructive criticism.
Reflect on Your Progress: Regularly review your earlier works to see how far you’ve come and identify consistent challenges.
Summary: Patience and Practice
The key to mastering pencil drawing lies in consistent practice and patience. These basic exercises are not just tasks to be completed but skills to be refined over time. As you progress, you’ll find your hand becoming steadier, your eyes more observant, and your drawings more expressive. Remember, every great artist started with a simple line. Embrace the process, celebrate your improvements, and always be open to learning and experimenting. Your artistic journey is just beginning, and with each stroke of the pencil, you’re one step closer to unlocking the full potential of your creative expression.
Chapter 4: Moving Forward: Next Steps in Your Drawing Journey
As you begin to feel more comfortable with the basics of pencil drawing, it’s time to think about how you can continue to grow and develop your skills. This journey is one of constant learning and exploration, where each step forward opens new doors of creative possibility. Here, we’ll discuss how to set achievable goals, find inspiration, engage with a community, and access resources for continued learning, keeping you motivated and progressing in your art journey.
Setting Goals: Charting Your Path
Setting achievable drawing goals is a powerful way to stay focused and motivated. Whether it’s mastering a new technique, completing a drawing every day for a month, or working towards a larger project, goals give you a clear direction. Start small to build confidence, and then gradually challenge yourself with more complex objectives. Remember, the aim is not just to achieve these goals but to enjoy the process of growth they encourage.
Seeking Inspiration: The World Around You
Inspiration is everywhere, from the mundane objects in your home to the great masterpieces of art history. Take time to really see the world around you; sketch the shapes of shadows on your wall, the intricate patterns of a leaf, or the dynamic poses of people in a park. Additionally, exploring the work of other artists can open your eyes to new styles, techniques, and perspectives. Allow yourself to be inspired by the diversity of art in the world, and don’t be afraid to incorporate what resonates with you into your own practice.
Joining a Community: The Strength of Shared Passion
Art is a journey best shared. Joining art classes or online communities can provide invaluable feedback, encouragement, and motivation. Sharing your work and experiences with others who are on a similar path can help you overcome challenges and celebrate successes. Art communities are also great spaces to ask questions, exchange tips, and stay inspired. Whether it’s through social media, forums, or local art groups, find a community that supports and motivates you to keep drawing.
Resources for Continued Learning: Never Stop Growing
The learning never stops in the world of art. There are countless resources available to help you refine your skills and explore new areas of drawing. For beginners, books such as “Drawing on the Right Side of the Brain” by Betty Edwards offer great insights into the fundamentals of drawing. Websites like Drawspace provide lessons catering to various skill levels. Online courses on platforms like Udemy or Skillshare feature classes taught by experienced artists and can be a great way to learn at your own pace. Keep seeking out new resources, and don’t be afraid to dive into topics or techniques that challenge you.
Summary: The Journey Continues
Your pencil drawing journey is uniquely yours, filled with endless opportunities for growth and expression. By setting goals, seeking inspiration, joining a community, and utilizing resources for learning, you’ll find yourself moving forward with confidence and curiosity. Remember, the key to progress is consistent practice paired with a willingness to explore and experiment. The vast world of pencil drawing awaits, full of potential for discovery and mastery. Keep your pencil sharpened, your mind open, and your passion for drawing alive. Your artistic journey is just beginning, and each day brings a new canvas to explore.
Conclusion
Throughout this guide, we’ve embarked on a journey through the foundational aspects of pencil drawing, exploring everything from assembling your initial toolkit of pencils, paper, and erasers to mastering various pencil grips that enhance your drawing technique. We’ve delved into essential drawing exercises that build your skills in creating lines, shapes, and textures, and offered strategies for continuous improvement and inspiration. Each chapter has been designed to equip you with the knowledge and confidence to start your artistic journey, emphasizing the importance of setting achievable goals, seeking inspiration, engaging with a community, and utilizing resources for further learning.
As you move forward, remember that every mistake you make is a stepping stone towards mastery. Embrace these moments of learning, for they are integral to your growth as an artist. The process of creating art, especially with something as simple and humble as a pencil, is a profound reminder of the beauty and complexity that can emerge from basic elements. The joy and fulfillment derived from bringing your ideas to life on paper are unparalleled.
Let this guide be the beginning of your exploration into the vast, rewarding world of pencil drawing. Continue to practice, experiment, and above all, enjoy every moment of your creative journey. With just a pencil in hand, the possibilities are endless, and the canvas of your imagination awaits.







0 Comments