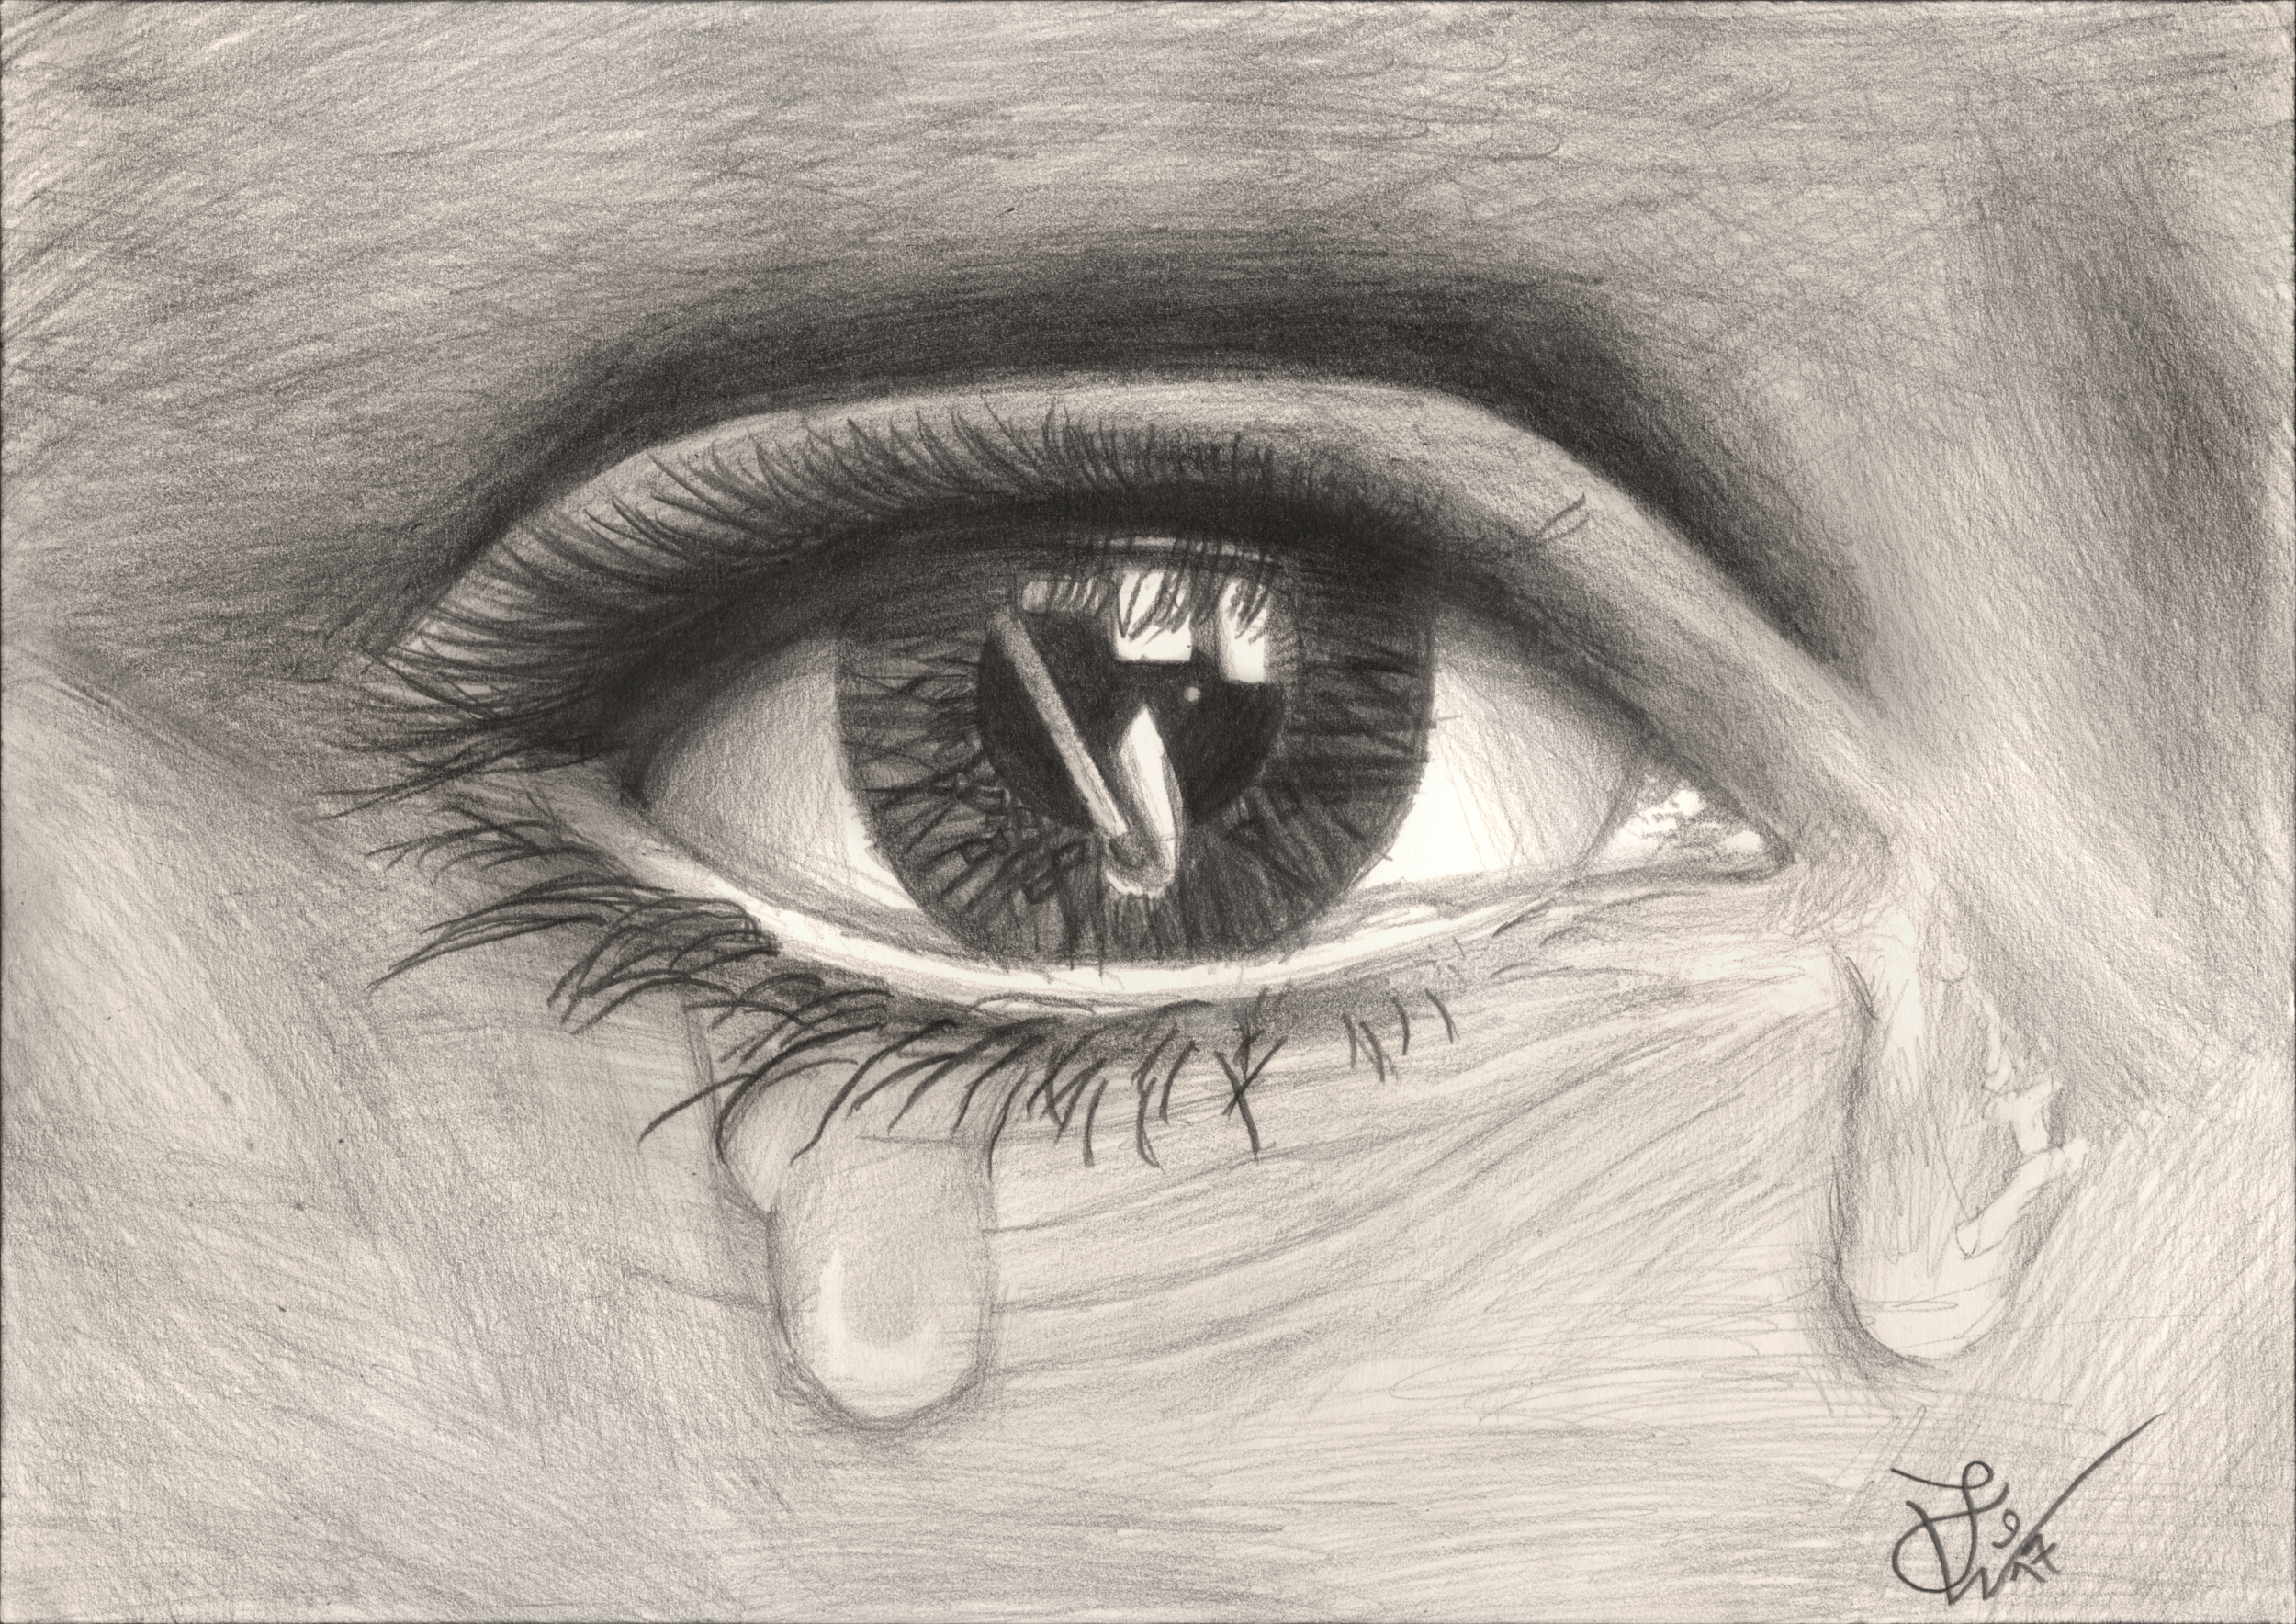
Credit: TheJulinator on DeviantArt
Have you ever gazed upon a piece of art so detailed and lifelike that it seemed to leap off the page, and wondered how such a masterpiece began its life? More often than not, these awe-inspiring pieces start as mere whispers of ideas, rough sketches barely hinting at their final glory. This transformation from a simple draft to a breathtaking masterpiece is not just a stroke of magic but the result of a meticulous, thoughtful drawing process.
The journey of developing a drawing involves much more than the act of sketching itself. It’s about evolving a rough concept into a polished piece of art through careful planning, constant revising, and detailed refining. Each step in this process, from the initial sketch to the final touches, plays a crucial role in bringing the artist’s vision to life.
Understanding how to effectively navigate through these stages is essential for any artist aiming to elevate their work from good to great. Planning lays the groundwork for your composition, revising allows you to critique and adjust your vision, and refining brings depth, texture, and realism to your art.
This article will explore the strategies and techniques that can help you develop a robust drawing process, ensuring that every piece you create has the potential to become a masterpiece. Join us as we delve into the art of transforming drafts into detailed works of art, emphasizing the importance of each step in achieving polished and compelling artwork.
Creator: Charles W. Bailey Jr.
The Initial Sketch: Laying the Groundwork
The journey of transforming a blank canvas into a captivating masterpiece begins with a single, often humble, sketch. This initial stage is where the raw essence of your vision starts to take shape, guided by a blend of inspiration, technique, and the right tools. Understanding and executing this foundational step effectively sets the tone for the entire creative process that follows.
Understanding Your Vision
The importance of having a clear concept or story before your pencil ever touches the paper cannot be overstated. A well-defined vision serves as the backbone of your artwork, providing direction and purpose to your creative endeavors. It’s the difference between a drawing that feels cohesive and one that seems disjointed or unfocused.
Gathering Inspiration: Inspiration can be found everywhere—from the natural world to the vast collections of images and art available online. Compile images, textures, and anything else that sparks your creativity into a mood board. This collection will serve as a tangible source of inspiration as you begin sketching.
References: Utilizing references is not about copying but about understanding the nuances of your subject matter. Whether it’s the anatomy of a figure or the structure of a landscape, references can guide your hand and ensure accuracy in your sketches.
Sketching Techniques
Laying down your initial ideas is both an exciting and daunting phase. This is where your vision begins to materialize, making the choice of sketching techniques and tools pivotal.
Basic Sketching Techniques: Start with light, loose lines to outline the basic shapes and proportions of your subject. This approach allows you to adjust the composition easily without committing to any detail too early. Gradually refine these lines, adding detail and depth as the sketch progresses.
Choosing the Right Tools: The tools you choose can significantly affect the outcome of your sketch. A range of pencils from hard (H series) for light, precise lines to soft (B series) for darker, more expressive strokes can offer versatility. Quality sketch paper that can withstand erasing and reworking without damage is also crucial. Consider the texture of your paper as well; smooth surfaces are ideal for fine details, while textured paper can add a unique quality to your work.
Embarking on the initial sketch with a clear vision and the right approach lays the groundwork for a successful drawing process. This stage is about exploration and experimentation, where the seeds of your masterpiece are sown. By focusing on developing your concept and mastering the basics of sketching, you set the stage for a piece of art that is not only technically proficient but also deeply personal and expressive.
Planning Your Composition
After laying down the initial groundwork with a sketch, the next critical step in developing your drawing process is planning your composition. This stage is where you begin to consider how each element of your artwork will interact, guiding the viewer’s eye and conveying your intended message or emotion. Understanding and applying key compositional elements can transform a good drawing into a great one.
Elements of Composition
Balance, Contrast, and Focal Point: Balance ensures that your composition feels stable and aesthetically pleasing, whether through symmetrical or asymmetrical arrangements. Contrast, on the other hand, involves using differences in tones, textures, or shapes to create interest and focus. Identifying a focal point is crucial; this is the area where you want the viewer’s eye to be drawn—the heart of your story.
Unity and Variety: Achieving a sense of harmony while ensuring enough diversity to keep the composition engaging is essential. Unity can be attained through repeating elements or colors, whereas variety might come from introducing unexpected details or textures.
Directional Lines and Movement: Use lines, whether actual or implied, to navigate the viewer through your artwork, creating a sense of movement that enhances the overall dynamic of the piece.
Using Thumbnails to Experiment with Different Compositions
Before committing to your final composition, creating thumbnail sketches can be an invaluable tool. These small, quick drawings allow you to explore various compositional possibilities without investing too much time or detail. Experiment with different layouts, perspectives, and balances to see what best captures your vision.
Developing the Sketch
Refining Your Initial Sketches: With your chosen thumbnail as a guide, begin refining your sketch. This involves solidifying the structure, enhancing the clarity of your focal points, and beginning to decide on the distribution of details throughout the piece.
Deciding on the Details to Emphasize: As your composition takes shape, consider which details will most effectively contribute to the story you’re telling. Detailing should be strategic; emphasize areas that reinforce your focal point and use less detail in other areas to avoid overwhelming the viewer. This selective detailing not only draws attention to your focal points but also contributes to the overall balance and harmony of the composition.
Planning your composition thoughtfully lays the foundation for a compelling, cohesive piece of art. By considering key compositional elements and experimenting with different layouts through thumbnails, you can develop a well-balanced, dynamic composition. This careful planning ensures that when you proceed to the final detailing and refining stages, every stroke of your pencil will contribute meaningfully to your masterpiece.
Revising Your Draft
Once the initial composition is laid out, the next pivotal phase in the journey from draft to masterpiece is the revision process. Revising your work is not merely about correcting mistakes; it’s an opportunity to refine your vision, enhance the clarity of your message, and ensure every element of your artwork contributes to a cohesive whole. This stage requires a critical eye, an openness to feedback, and a delicate balance between attachment to your work and the willingness to make necessary changes.
Critiquing Your Own Work
Strategies for Stepping Back and Evaluating Your Sketch:
Take a Break: Sometimes, stepping away from your work for a bit can provide fresh perspectives when you return.
Use a Mirror: Viewing your drawing in a mirror can help you see it from a new angle, making it easier to spot imbalances or issues in the composition.
Flip the Canvas: If you’re working digitally, or if you have a photocopy of your sketch, looking at it flipped can also reveal new insights.
Ask Questions: Approach your work with questions like, “Does this element serve the overall composition?” or “Is the focal point clear?”
Seeking Feedback from Others:
Choose Your Critics Wisely: Seek out feedback from individuals whose opinions you respect and who understand your artistic goals.
Be Open to Constructive Criticism: It can be challenging, but listening to constructive feedback can be incredibly valuable in strengthening your work.
Incorporate Useful Critiques: Not all feedback will be relevant, but when you receive suggestions that resonate, consider how to incorporate them into your revisions.
Making Revisions
Techniques for Making Changes to Your Composition and Details:
Prioritize Changes: Identify which areas of your composition most need revision and tackle those first. This might involve adjusting the layout, enhancing certain details, or even removing elements that don’t contribute positively to the piece.
Adjusting Proportions and Perspectives: Use your eraser lightly to redefine lines and shapes. Sometimes, minor adjustments to proportions or perspectives can significantly impact the overall effectiveness of your drawing.
The Role of Erasers and How to Make Corrections Without Compromising the Sketch:
Choose the Right Eraser: Soft erasers are ideal for making light corrections without damaging the paper, while kneaded erasers can lift graphite more precisely.
Light Touch: Apply a gentle touch when erasing to avoid removing more than necessary or damaging the paper’s surface.
Layering: If a significant portion needs reworking, lightly erase the area to serve as a guide for the revision. This allows you to maintain the overall structure while updating the details.
Revising your draft is a delicate dance of critique, feedback, and adjustment. It’s where you refine your artistic intentions, clarify your visual message, and polish your work until it resonates with your intended vision. Embracing this phase with patience and openness can transform a good sketch into a truly great piece of art, ready for the final touches that will elevate it to masterpiece status.
Refining Your Artwork
The refinement stage of your drawing process is where your artwork truly begins to flourish. It’s here that you apply the finishing touches, adding layers of detail, texture, and contrast that transform your piece from a sketch into a lifelike representation. This phase demands a combination of technical skill, patience, and an eye for the subtle nuances that contribute to the artwork’s overall realism and depth.
Detailing Techniques
Advanced Techniques for Adding Detail and Texture:
Layering: Begin with lighter layers and gradually build up to the darker tones. This method allows for more control and depth in your textures.
Cross-Hatching and Stippling: Use cross-hatching for dynamic textures and stippling for softer, more nuanced shading. Both techniques can add a tactile quality to your work, making it more engaging.
Precision Erasing: A fine-tipped eraser can be used not just for correcting mistakes but for drawing in light, creating highlights that enhance texture and detail.
Using Shading, Highlighting, and Texture:
Shading: Understand the form of what you’re drawing and observe how light interacts with it. Apply shading to indicate these interactions, using gradients to suggest volume and curvature.
Highlighting: Identify the areas where light naturally hits your subject. Use lighter strokes or a precision eraser to emphasize these highlights, contributing to the three-dimensionality of your drawing.
Texture: Vary your pencil strokes to mimic the textures of your subject matter, from the roughness of bark to the smoothness of skin. Paying attention to these details can significantly enhance the realism of your artwork.
Achieving Realism
Tips for Creating Depth and Realism in Your Artwork:
Observation: Realism starts with keen observation. Study your subject closely, noting how details appear in real life and attempting to replicate those in your drawing.
Contrast and Depth: Use a range of tones from light to dark to create contrast. High contrast areas tend to draw the eye, while subtle gradations can suggest depth.
Perspective and Proportion: Ensure your drawing maintains accurate perspective and proportions. Even the most detailed work can lose its realism if these elements are off.
Utilizing Light and Shadow Effectively:
Directional Lighting: Determine a light source direction and consistently apply it throughout your piece. This coherence in lighting helps to unify the drawing and enhances its believability.
Cast Shadows: Pay attention to how shadows are cast by the various elements in your composition. Correctly rendered shadows can anchor objects in space, contributing to the overall sense of depth.
Refining your artwork is a meticulous but rewarding process. It involves a deep engagement with your work, an understanding of the physical properties of your subject, and the application of a range of drawing techniques to capture those properties.
This stage is about pushing your skills to their limits, challenging yourself to add as much depth, texture, and realism as possible without overcomplicating the composition. By carefully balancing these elements, you breathe life into your drawing, transforming it into a detailed masterpiece that not only captures the eye but also the imagination. Remember, the goal of refinement is not just to impress with technical skill but to convey emotion and story through the medium of pencil on paper.
Final Touches and Presentation
After dedicating time to meticulously drafting, revising, and refining your artwork, you’ve arrived at the final stage: adding those last touches and preparing your piece for presentation. This phase is crucial, as it involves both polishing your masterpiece to perfection and considering how best to share it with the world. Whether you’re framing it for a gallery or preparing to share it online, the way you present your work can significantly impact how it’s perceived.
Polishing Your Masterpiece
Reviewing Your Work with Fresh Eyes:
Before declaring your drawing complete, take a step back and give it some time—hours or even days, if possible. Approaching your work with fresh eyes can reveal areas that may need subtle adjustments or final enhancements. This pause allows you to view your artwork more objectively, ensuring that every element contributes positively to the whole.
Techniques for Cleaning Up Your Drawing:
Erase Any Unwanted Marks: Carefully remove any stray pencil marks or smudges with a kneaded eraser, which can pick up graphite without damaging the paper.
Smooth Out Gradients: Use a blending stump or a clean, dry brush to softly blend any areas where the shading might be too harsh, ensuring a seamless transition between tones.
Final Detail Check: Make sure that all intended details are clear and precisely rendered. This is your last chance to fine-tune the textures, contrasts, and highlights that bring your drawing to life.
Framing and Sharing Your Work
Suggestions for Framing and Displaying Your Finished Piece:
Choosing the right frame can enhance your artwork’s appeal. Consider a frame that complements both the style of your drawing and the environment where it will be displayed. A mat can also help to highlight the work and protect it by preventing the drawing from touching the glass.
Tips for Digitizing and Sharing Your Artwork Online:
High-Quality Scans: Use a high-resolution scanner to capture the details of your artwork accurately. Ensure even lighting to avoid shadows or glare.
Editing for Accuracy: Adjust the digital image to match the original artwork’s tones and colors as closely as possible. Be cautious not to over-edit, as this can misrepresent your work.
Choosing Platforms: Share your artwork on platforms where your target audience is most active, whether it’s Instagram for a broad, visually-oriented audience or more specialized art communities like DeviantArt.
The final touches and presentation are about honoring the effort and skill you’ve invested in your artwork. By carefully reviewing, cleaning up, and thoughtfully presenting your piece, you ensure that it’s received in the best possible light. Whether through a physical frame or a digital display, showcasing your work effectively allows others to appreciate the depth, detail, and emotion you’ve poured into your masterpiece.
Creator: Wellcome Library, London
The journey from a simple draft to a fully realized masterpiece is both challenging and immensely rewarding. It’s a transformative process that not only refines your artwork but also deepens your understanding and skills as an artist.
Throughout this journey, from laying down the initial sketch to adding those final touches and presenting your work, each phase plays a crucial role in bringing your vision to life. The meticulous planning, revising, and refining of your piece are what elevate it from a concept to a work of art that resonates with depth, detail, and emotion.
As artists, it’s essential to embrace this process fully, allowing ourselves the freedom to experiment with different techniques, make mistakes, and learn from them. Revisions aren’t just about correcting errors; they’re opportunities for growth, enabling us to see our work in new ways and discover possibilities we hadn’t considered before.
I encourage you to share your journey and the masterpieces that emerge from it with the world. Whether through social media or in the comments below, let’s create a vibrant community of artists who inspire and support one another. Your experiences, challenges, and triumphs can motivate others to embark on their own journeys from draft to masterpiece, fostering a shared passion for the transformative power of art.
So, take up your pencils, embrace the process, and let’s continue to push the boundaries of our creativity, one drawing at a time.


0 Comments