Creator: Small Metal Box
Welcome to the captivating world of pencil sketches, where the stroke of a pencil has the power to bring the canvas to life. Imagine having the ability to transform a flat image into a tactile experience, where viewers can almost feel the warmth of sun-kissed skin, the softness of a furry companion, the rustle of fabric, or the cool touch of metal. This magic lies in mastering one crucial element: texture.
Texture is the secret ingredient that adds depth, dimension, and a touch of realism to your drawings. It’s what makes an apple appear juicy enough to bite into or a wooden table look sturdy and worn. By replicating the myriad textures of the real world, you elevate your sketches from mere representations to immersive experiences.
In this journey, we’ll dive into the techniques that will enable you to accurately portray various textures—skin, fur, fabric, and metal—each with its unique challenges and beauty. From the delicate wrinkles of aging skin to the lustrous sheen of polished metal, we’ll explore how to capture the essence of these textures with your pencil. Prepare to unlock the secrets of turning graphite into gold, as we embark on this adventure to enhance the realism and detail of your pencil sketches. Let’s not just draw; let’s create an experience.
Chapter 1: The Art of Skin Texture in Pencil Sketches
Skin texture, with its infinite variety and subtlety, presents both a challenge and an opportunity for artists. Capturing its essence can transform a flat portrait into a living, breathing subject. Let’s explore how variations in age, gender, and body parts influence skin texture and how you can replicate these details to bring your pencil sketches to life.
Understanding the Diversity of Skin Textures
Skin texture varies dramatically across different people and even different areas of the same person’s body. Age plays a significant role; youthful skin tends to be smoother and more uniform, while older skin may show wrinkles, lines, and spots. Gender differences can influence skin texture as well, with males typically having thicker, more textured skin than females. Additionally, the skin on a person’s back is different from the delicate skin around the eyes or the lips. Recognizing these nuances is the first step toward creating realistic skin textures in your artwork.
Mastering Techniques for Replicating Skin Textures
Creating Smooth Skin:
Start with a Light Base: Use a finely sharpened HB pencil to lay down a light, even base layer. Circular or cross-hatching strokes can achieve a smooth texture.
Build Gradually: Layer additional light strokes to build the desired tone, paying attention to the contours of the face or body part you’re drawing.
Use a Blending Tool: Gently blend your strokes with a tortillon, blending stump, or a piece of tissue to smooth out any harsh lines.
Depicting Wrinkled or Aged Skin:
Observe the Pattern: Wrinkles follow natural facial expressions and muscle movements. Note the direction and depth of wrinkles to replicate them accurately.
Define with Lines: Use a sharper, harder pencil, like a 2H, to lightly sketch the wrinkles’ main lines. Vary the pressure to reflect the wrinkle’s depth.
Deepen the Shadows: Use a softer pencil, like a 2B or 4B, to accentuate the shadows within wrinkles, enhancing their depth and realism.
Enhancing Realism with Highlighting and Shading
The interplay of light and shadow is pivotal in rendering realistic skin textures. Highlights can suggest the skin’s natural oils or moisture, while shadows define its contours and creases.
Identifying Light Sources: Determine where the light in your scene is coming from. This will guide where to place highlights and shadows.
Adding Highlights: Use an eraser or a light touch with your pencil to add highlights on the nose, cheeks, forehead, and other areas that protrude and catch the light.
Shading for Depth: Apply softer pencils in areas opposite your light source to create shadows. This contrast between light and dark areas will give your drawing a three-dimensional quality.
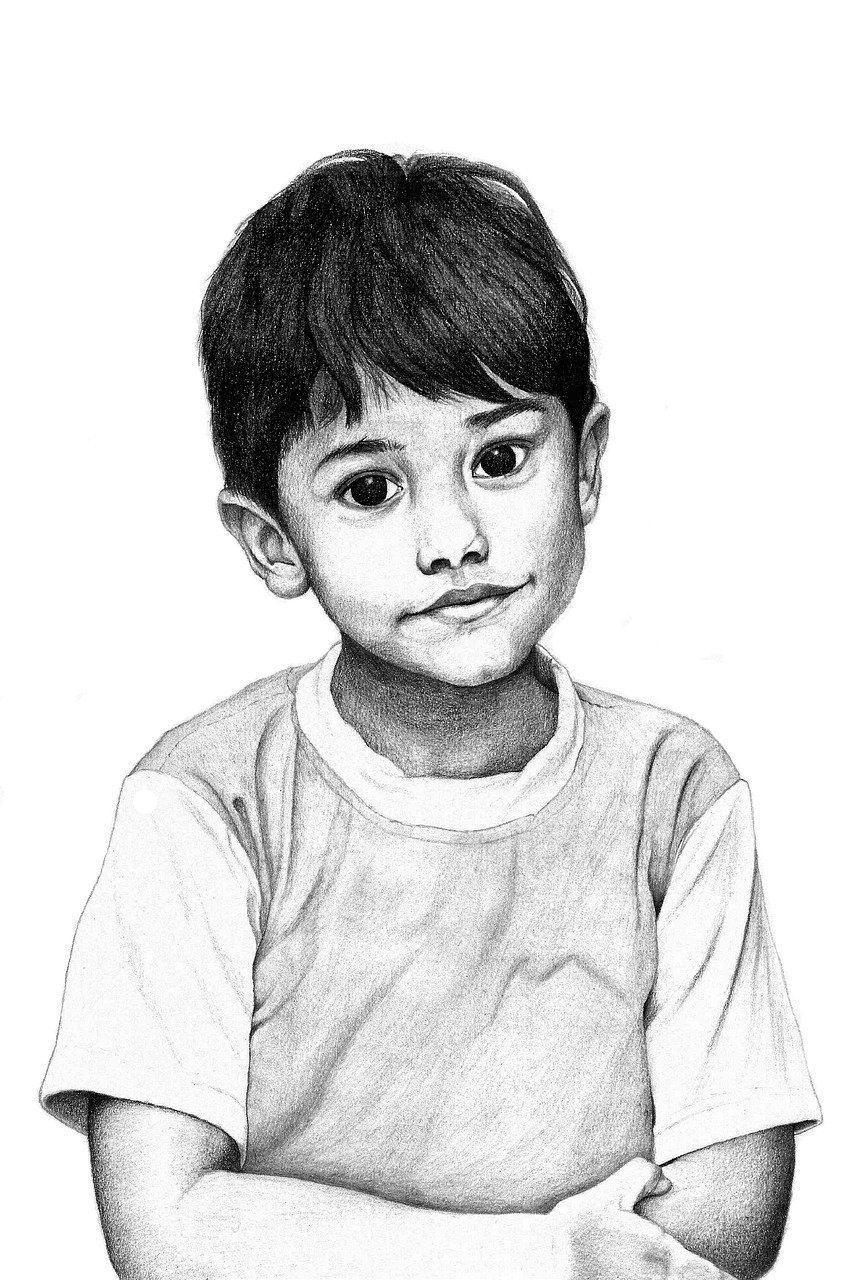
By meticulously studying the unique characteristics of skin and applying these targeted techniques, you can achieve remarkable realism in your pencil sketches. Whether capturing the softness of a baby’s cheek or the storied lines of an elder’s face, the key lies in observing, understanding, and then skillfully replicating the diverse textures that make skin endlessly fascinating to behold.
Credit: davidsdoodles on DeviantArt
Chapter 2: Capturing the Essence of Fur in Pencil Art
Fur, with its diverse types and textures, offers a thrilling challenge for pencil artists. The key to successfully capturing its essence lies in understanding the unique characteristics of different fur types and mastering the techniques to replicate them. From the soft fluff of a rabbit to the coarse mane of a lion, let’s delve into how to bring these textures to life on paper.
Understanding Fur Types and Their Characteristics
Short Fur: Found on animals like cats or short-haired dogs, short fur is dense and lays flat against the body. Its texture can range from smooth to slightly bristly.
Long Fur: Common in animals like horses or long-haired dogs, long fur flows and has visible strands that can catch the light differently, creating a variety of shades and highlights.
Curly Fur: Seen in breeds like poodles, curly fur consists of tight curls or waves that add a unique texture challenge, requiring attention to the play of light and shadow within each curl.
Fur Drawing Techniques for Realistic Textures
Replicating Short Fur:
Directionality: Start by observing the growth direction of the fur. Use fine, short strokes with a sharp pencil to mimic this, keeping your lines parallel and closely packed.
Layering: Build layers gradually, starting with lighter pressure for the undercoat and increasing pressure for the darker topcoat. This creates the dense texture characteristic of short fur.
Mimicking Long Fur:
Flowing Lines: Use longer, flowing strokes that follow the fur’s natural direction. A mixture of HB and 2B pencils can vary the line weight, adding to the fur’s dynamism.
Strand Definition: For areas where individual strands are visible, use a sharp pencil to define these lightly. Vary the thickness and darkness to create depth.
Capturing Curly Fur:
Curl Patterns: Start by outlining the major curls or waves. This serves as a guide for filling in the texture.
Shading Within Curls: Apply shading to the underside of each curl to create volume, using a softer pencil like a 2B or 4B for the darker areas.
Adding Depth and Volume to Fur Sketches
Strategic Shading and Highlighting:
Identify Light Sources: Determine where light naturally hits the fur. Highlights typically appear on the tops of curls or the edges of long fur strands.
Building Shadows: Use shading to accentuate the depth between fur layers or within curls. The contrast between light and dark areas will give your fur texture a three-dimensional look.
Blending for Softness: Softly blend your pencil strokes in areas of transition between light and shadow to create a more realistic fur texture. A blending stump or a piece of tissue can be useful for this.
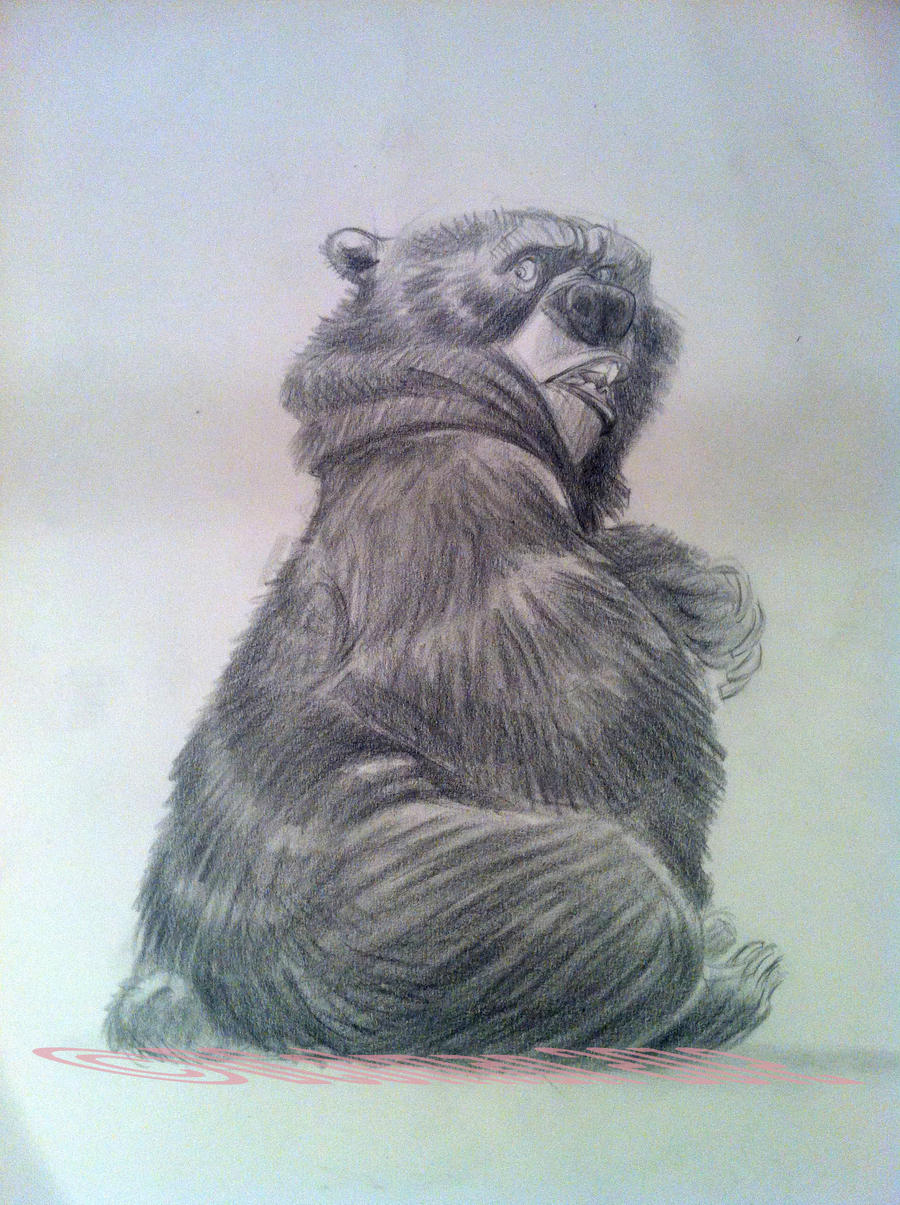
Mastering the art of drawing fur requires patience and practice. By focusing on the directionality, density, and layering of your pencil strokes and paying close attention to the interplay of light and shadow, you can create fur textures that are rich, realistic, and full of life. Whether sketching a beloved pet or a wild animal, the techniques outlined here will help you capture the unique beauty and complexity of fur in your pencil art.
Chapter 3: Fabric Textures Unfolded
In the realm of pencil art, mastering the depiction of fabric textures is a skill that adds depth and realism to your work. Fabrics, with their diverse weaves, patterns, and behaviors, provide a unique challenge, requiring careful observation and technique to replicate effectively. From the fluidity of silk to the stiffness of denim, understanding how to convey fabric textures can transform your sketches from flat to tactile.
Fabric Fundamentals: Understanding Textures
Fabrics come in an array of textures, each with its characteristics. Cotton tends to have a soft, slightly textured look, creating gentle shadows and highlights. Silk, on the other hand, is smooth with high sheen, where highlights are more pronounced and shadows are subtle yet deep. Wool showcases a rough texture, with pronounced shadows due to its bulky nature. Lastly, denim offers a rigid texture with distinct weaving patterns, creating stark contrasts between light and shadow.
Sketching Fabric: Capturing Realism
Observation is Key: Begin by closely observing your fabric of choice. Notice how it behaves—how it folds, drapes, and where it bunches. Start with a light sketch to outline its general shape and major folds.
Creating Folds and Drapes: Use varied line weights to define the folds—lighter lines for raised areas and heavier lines for the shadows within the folds. For drapes, use smooth, flowing lines to convey the fabric’s fluidity. Remember, the direction and curvature of your lines can greatly impact the fabric’s appearance.
Adding Patterns and Texture: For textured fabrics like wool or denim, use stippling or cross-hatching to replicate the fabric’s surface. For patterned fabrics, simplify the patterns into basic shapes and shades to avoid overwhelming the sketch while maintaining the essence of the design.
Conveying Weight and Movement
Weight Through Shading: The weight of a fabric can be suggested through strategic shading. Heavier fabrics will have deeper, more pronounced shadows, while lighter fabrics will have softer, more diffuse shadows. The contrast between light and shadow can also emphasize the thickness or thinness of the material.
Capturing Movement: To convey movement, focus on the flow of the fabric. Dynamic lines and strategic highlights can suggest the way fabric moves in the breeze or conforms to the human body. Pay attention to how different fabrics react to movement—stiffer fabrics will have more angular folds, while lighter fabrics will display more curvature and fluid lines.
Highlighting for Sheen: Fabrics like silk or satin require careful placement of highlights to convey their smooth, reflective nature. These highlights are usually sharper and more concentrated than those on matte fabrics, reflecting the fabric’s sheen and contributing to the sense of movement.
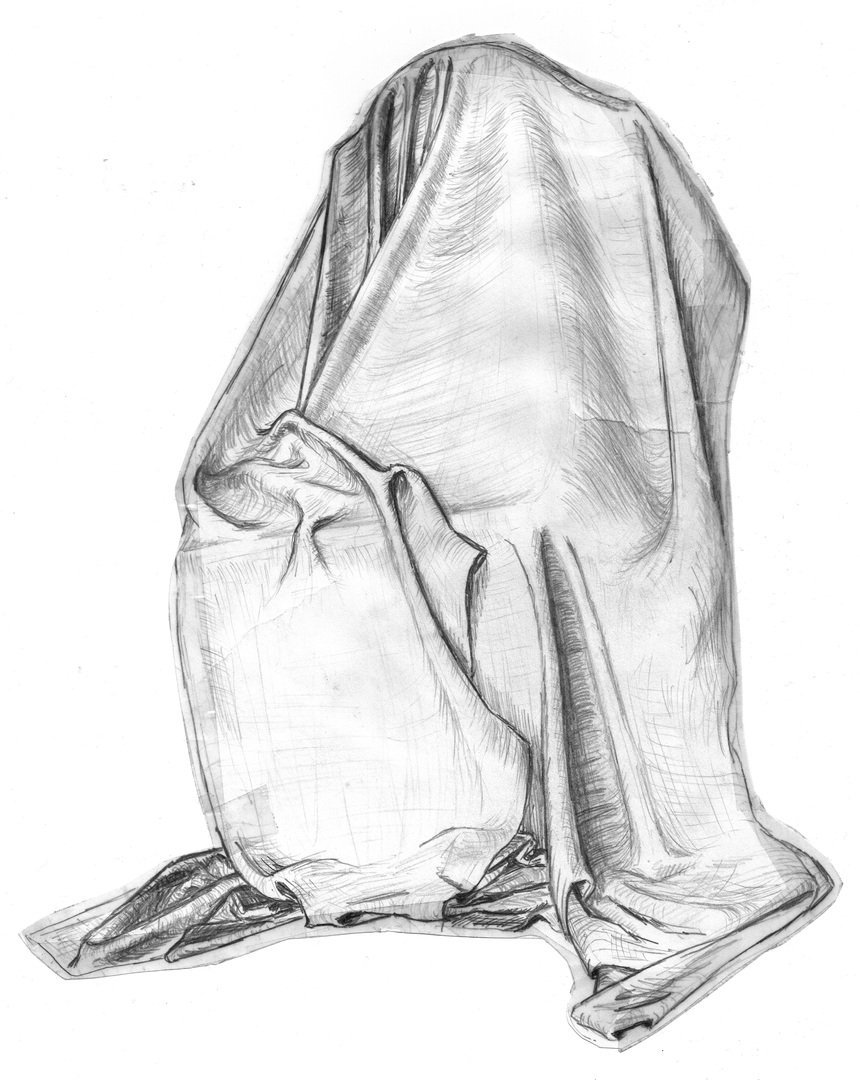
Mastering the depiction of fabric textures in pencil sketches is a journey of observation, experimentation, and refinement. By understanding the fundamental characteristics of various fabrics and applying specific techniques to capture their essence, you can infuse your sketches with a new level of realism and depth. The ability to accurately render fabric not only enhances the overall quality of your art but also opens up new avenues for creative expression, allowing you to tell richer, more compelling stories through your pencil work.
Credit: ShiningBill on DeviantArt
Chapter 4: The Sheen of Metal in Pencil Art
Metal, with its gleaming surfaces and complex reflections, presents a fascinating subject for pencil artists. Capturing the essence of metal in a sketch requires an understanding of its unique properties—shine, reflection, and smoothness. This chapter delves into the techniques for rendering various metal textures, from the soft sheen of brushed aluminum to the intricate reflections of polished chrome and the textured surface of rusted iron.
Metal Texture Basics: Understanding Shine and Reflection
Metal textures are distinguished by their interaction with light. Unlike softer, more absorbent materials, metal reflects light, creating highlights and shadows that define its form. The key to metal drawing lies in observing these reflections and understanding how they reveal the metal’s shape and texture.
Shine: Indicates the metal’s reflective quality. Polished metals have high shine, while brushed or rusted metals exhibit a subdued glow.
Reflection: Metal surfaces mirror their surroundings, displaying distorted reflections that need careful replication.
Smoothness: Even when metal appears rough or textured, its underlying smoothness differentiates it from other materials.
Drawing Metal Textures: A Step-by-Step Guide
Brushed Metal:
Directional Lines: Start with light, directional strokes to suggest the metal’s brushed texture. Use a 2H pencil for fine, controlled lines.
Subtle Shading: Add shading with a B or 2B pencil, following the direction of the brush strokes. This creates the illusion of depth and texture.
Soft Highlights: Erase gently along the strokes for highlights, mimicking the light reflecting off the brushed surface.
Polished Metal:
Smooth Gradients: Begin with a base layer of smooth gradients using a 2B pencil, blending carefully to create a reflective surface.
Sharp Highlights: Use an eraser to add sharp, bright highlights where the light source is most directly reflected.
Reflected Images: Draw distorted reflections of the surroundings to emphasize the metal’s polished nature. Use a light touch to keep these reflections subtle and realistic.
Rusted Metal:
Textured Base: Use a mix of stippling with an HB pencil and light cross-hatching to create a textured base for the rust.
Color Variation: Layer different shades by varying the pressure to simulate rust’s color variation—from light orange-browns to deep reds.
Detailing: Add small, darker areas with a 4B pencil to depict deeper rust pits and corrosion for added realism.
Reflections and Contrasts: Bringing Metal to Life
The realism of metal in pencil sketches largely depends on the effective use of reflections and contrast. Here are some techniques to enhance metal textures:
Study Your Source: Carefully observe how light behaves on metal objects. Note the areas of high contrast between light and dark and replicate these in your sketch.
Use Contrasts: Amplify the contrast between the lightest lights and the darkest darks to suggest the reflective quality of metal.
Blur for Realism: Slightly blur or soften the edges of reflections in polished metal to avoid making them look too sharp or flat.
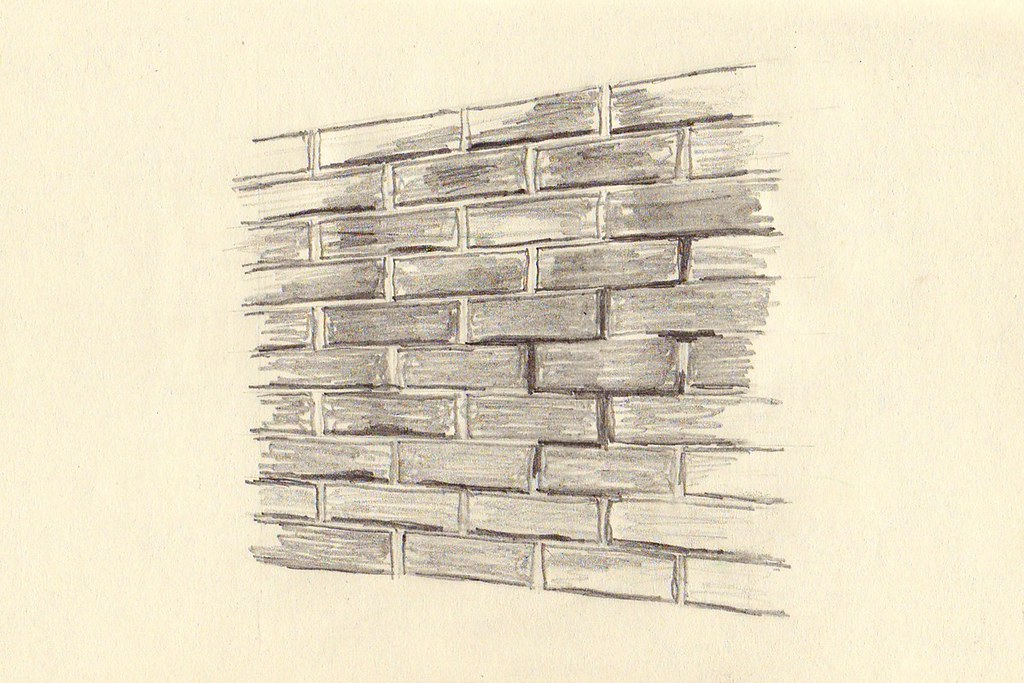
Mastering the depiction of metal in pencil art adds a new dimension to your sketches, allowing you to tackle a wide range of subjects with confidence. From the reflective curves of a classic car to the weathered surface of an old iron gate, the techniques outlined in this chapter provide the foundation for rendering metal textures with striking realism. As always, practice and patience are key—take the time to study metal objects in your environment and experiment with replicating their unique textures on paper.
Creator: Farween
Conclusion
Throughout this exploration of “Dynamic Textures: Crafting Realism in Your Pencil Sketches,” we’ve journeyed across the tactile landscape of pencil art, uncovering the secrets to replicating the rich textures of the world around us. From the softness of skin to the warmth of fur, the fluidity of fabric, and the reflective sheen of metal, mastering texture is fundamental to infusing our sketches with life and depth. These elements are not just visual cues but invitations for the viewer to feel, offering a bridge between the flat page and the three-dimensional world.
This guide has armed you with techniques and insights designed to elevate the realism of your work, encouraging you to see beyond the surface and capture the essence of your subjects. The ability to convey texture is a powerful tool in your artistic arsenal, one that deepens the narrative and emotional impact of your sketches.
Embrace these techniques with an open heart and a willing hand. Let practice be your guide and curiosity your compass as you weave texture into your art. Remember, each stroke, each shade, and each highlight is a step towards mastering the art of pencil sketching, shaping a unique artistic voice that is distinctly yours.
The journey of mastering texture is ongoing, a perpetual dance of observation, application, and refinement. As you continue to explore and experiment, let the world inspire you, and may your sketches grow ever more vivid, textured, and real.




0 Comments